Software and Technology
Seven Segment Display in Swift Using UIKit
Friday, 31 December 2021
My style of software development is a bit abnormal — or maybe it is completely normal. During the development cycle of an app, I will be working on a feature and out of nowhere — like a gift from the heavens — a new app idea. This new idea may or may not have any relation to what I was working on — but an idea it is.
The most recent iteration of this was when I came up with an idea for a game-score display that looks like a traditional scoreboard. While I can’t, yet, discuss the app idea behind this — what I can tell you is that the content of this post will be in an app that I will be releasing sometime in 2022.
Background
What do I mean by a traditional scoreboard? Well, to get started, let’s abandon the scoreboard example and go with something simpler — a clock — specifically, my clock.
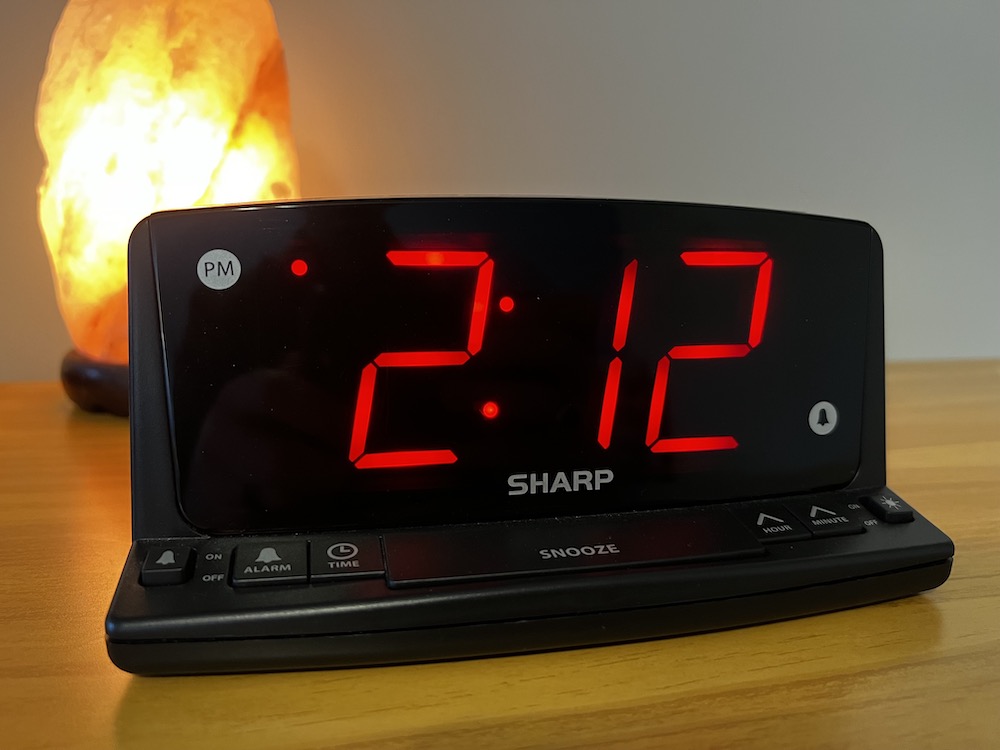 My alarm clock featuring a seven-segment display.
This clock is made up of three seven-segment displays.1 The three displays in this clock can be used to display every number, 0-9, by turning a selection of the segments on or off.2
Simple, right?
If you are interested in learning about how seven-segment displays work, this post explains in greater detail.
Implementation
Enough with the background, let’s get started with the implementation.
UI
The UI for the seven-segment display is not very complicated — so let’s get started.
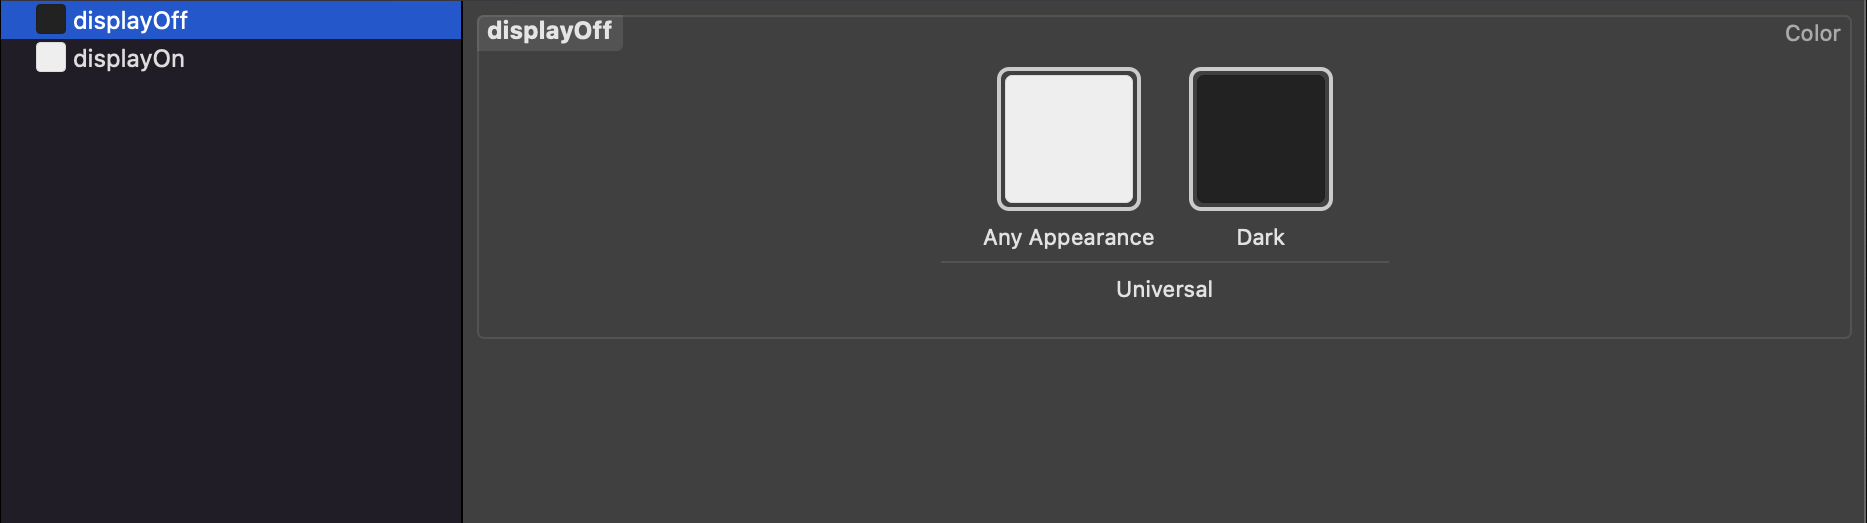
Step 1 - Define the colors.
Open the Assets.xcassets file — create two new color sets.
- Color Set 1:
displayOff- Any Appearance
- Hex: #EDEDED
- Dark
- Hex: #212121
- Any Appearance
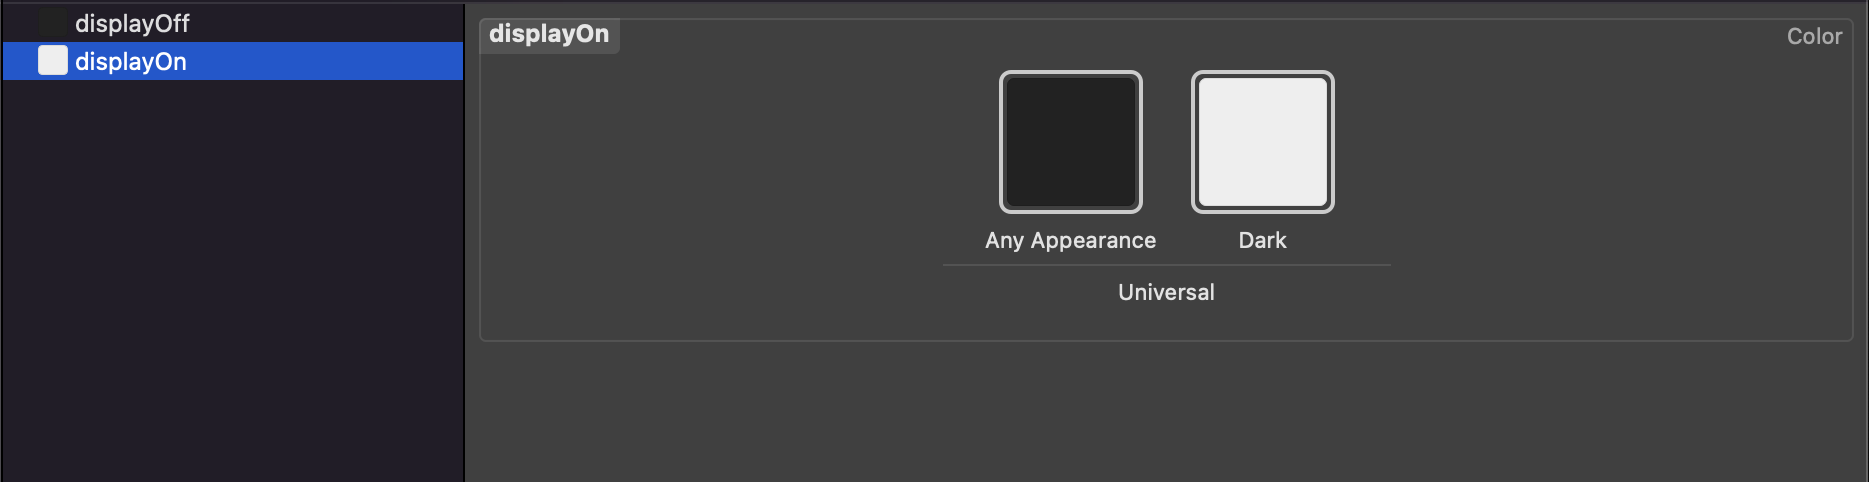
- Color Set 2:
displayOn- Any Appearance
- Hex: #212121
- Dark
- Hex: #EDEDED
- Any Appearance
Your results should look like this.
Step 2 - Create the reusable segment.
Create a new file titled: Segment.swift.
This file will contain a Segment class that subclasses UIView. When subclassing UIView, we need to override the initializer functions.
Now, let’s configure the Segment. This view is relatively simple, as the segment is a reusable view that represents each of the seven segments of the display.
In the initializer function, we will define our default background color, round the corners, and prepare the object for auto layout.
Excellent! Now, you will have noticed that we used a function (roundCorners) that does not currently exist. Let’s fix that.
Step 3 - Create the roundCorners helper.
Create a new file titled: Extension+UIView.swift.
For this step, I am going to skip the explanation since this is boilerplate code that I reuse in all of my projects (and I’m pretty sure that I lifted this from Stack Overflow). If you are interested in learning more about this code, let me know.
Step 4 - Create the seven-segment number.
Okay, now we can get back to the fun. It is time to build the seven-segment number. The display itself can be made up of as many numbers as you would like, but for now, we will build the reusable number.
First thing’s first, create a new file titled: SevenSegmentNumber.swift.
Like before, with the Segment class, we will be subclassing UIView and getting started by overriding the initializers.
Next, we can use that Segment view that we created earlier to define our seven segments.
I am following a standard naming convention for the segments — if naming the segments: top, bottom, middle, etcetera makes more sense to you — then more power to you.
Finally, the final step is to define the layout constraints. Each segment gets four unique constraints to set the exact location. All of this code is contained in a single function that should be called in the initializer.
Step 5 - Create the seven-segment display.
Now that the individual seven-segment numbers are complete — we can combine them into the full display. For this tutorial, we will be creating a three digit display with a ones, tens, and hundreds position. For your use case, you can modify this class to add more positions.
For the final time, create a new file titled: SevenSegmentDisplay.swift.
Like last time, we will subclass UIView and override the initializers.
With the class prepared, we can add our three number displays and title them accordingly.
Then, we can add them to the view and position them using auto layout. I am using the same function (setupViews), and calling it in the initializer.
All done! You have now configured all of the UI for displaying a three-digit seven-segment display. Next, we will move on to adding the functionality.
How to Use - Implementing into your app.
Really quick, before we move on, at this point you could start implementing the seven-segment display into your app. Here is the code to do that.
First, create an instance of the display.
Then, add it to your controller and add the constraints.
All done!
Functionality
Finally, we have finished the implementation of the UI — now we can move on to the functionality. If you happened to try the last step of the UI section and added the display to your app, you would have noticed that nothing happens. Let’s fix that.
Step 1 - Reset the display.
A critical function for the display is to be able to reset back to an expected state. For us, that state will be all zeros.
In the SevenSegmentDisplay.swift file, let’s start by writing the reset function.
Once again, we are calling functions that don’t exist, yet. Time to fix that.
Step 2 - Showing numbers.
Now that we know how to set a number for a part of the display, we need to setup the code to turn segments on and off.
In the SevenSegmentNumber.swift file, we will get started by writing yet another reset function. This time, we are not reseting to a specific number, we are resetting the number display to off. This will assist, later, when we need to write functions to display our numbers, zero to nine.
Since we have an easy way to reset the state of the display, now we can setup the functions that will turn the display on. To keep this functionality as simple as possible, I have written individual functions for each number. I will step through them one by one.
Zero (0)
One (1)
Two (2)
Three (3)
Four (4)
Five (5)
Six (6)
Seven (7)
Eight (8)
Nine (9)
With all of these number functions, we can now write the final function for the single digit display — the set value function. This function takes an integer and then calls the appropriate function for turning on the right segments.
Step 3 - Show a three-digit number.
With the last step complete, we are now able to show numbers using the seven-segment displays. The final step in configuring the functionality is to add a display function to take an integer (0-999) and show it on the multi-digit seven-segment display. All of the functions that we have added can now come together to enable this.
The first part of this function is to check whether the value will fit on the display. If it will, then we turn the number into a string, get the length, and set the number in the ones, tens, and hundreds place. If the number does not fill all three places, then the empty spaces are set to zero.
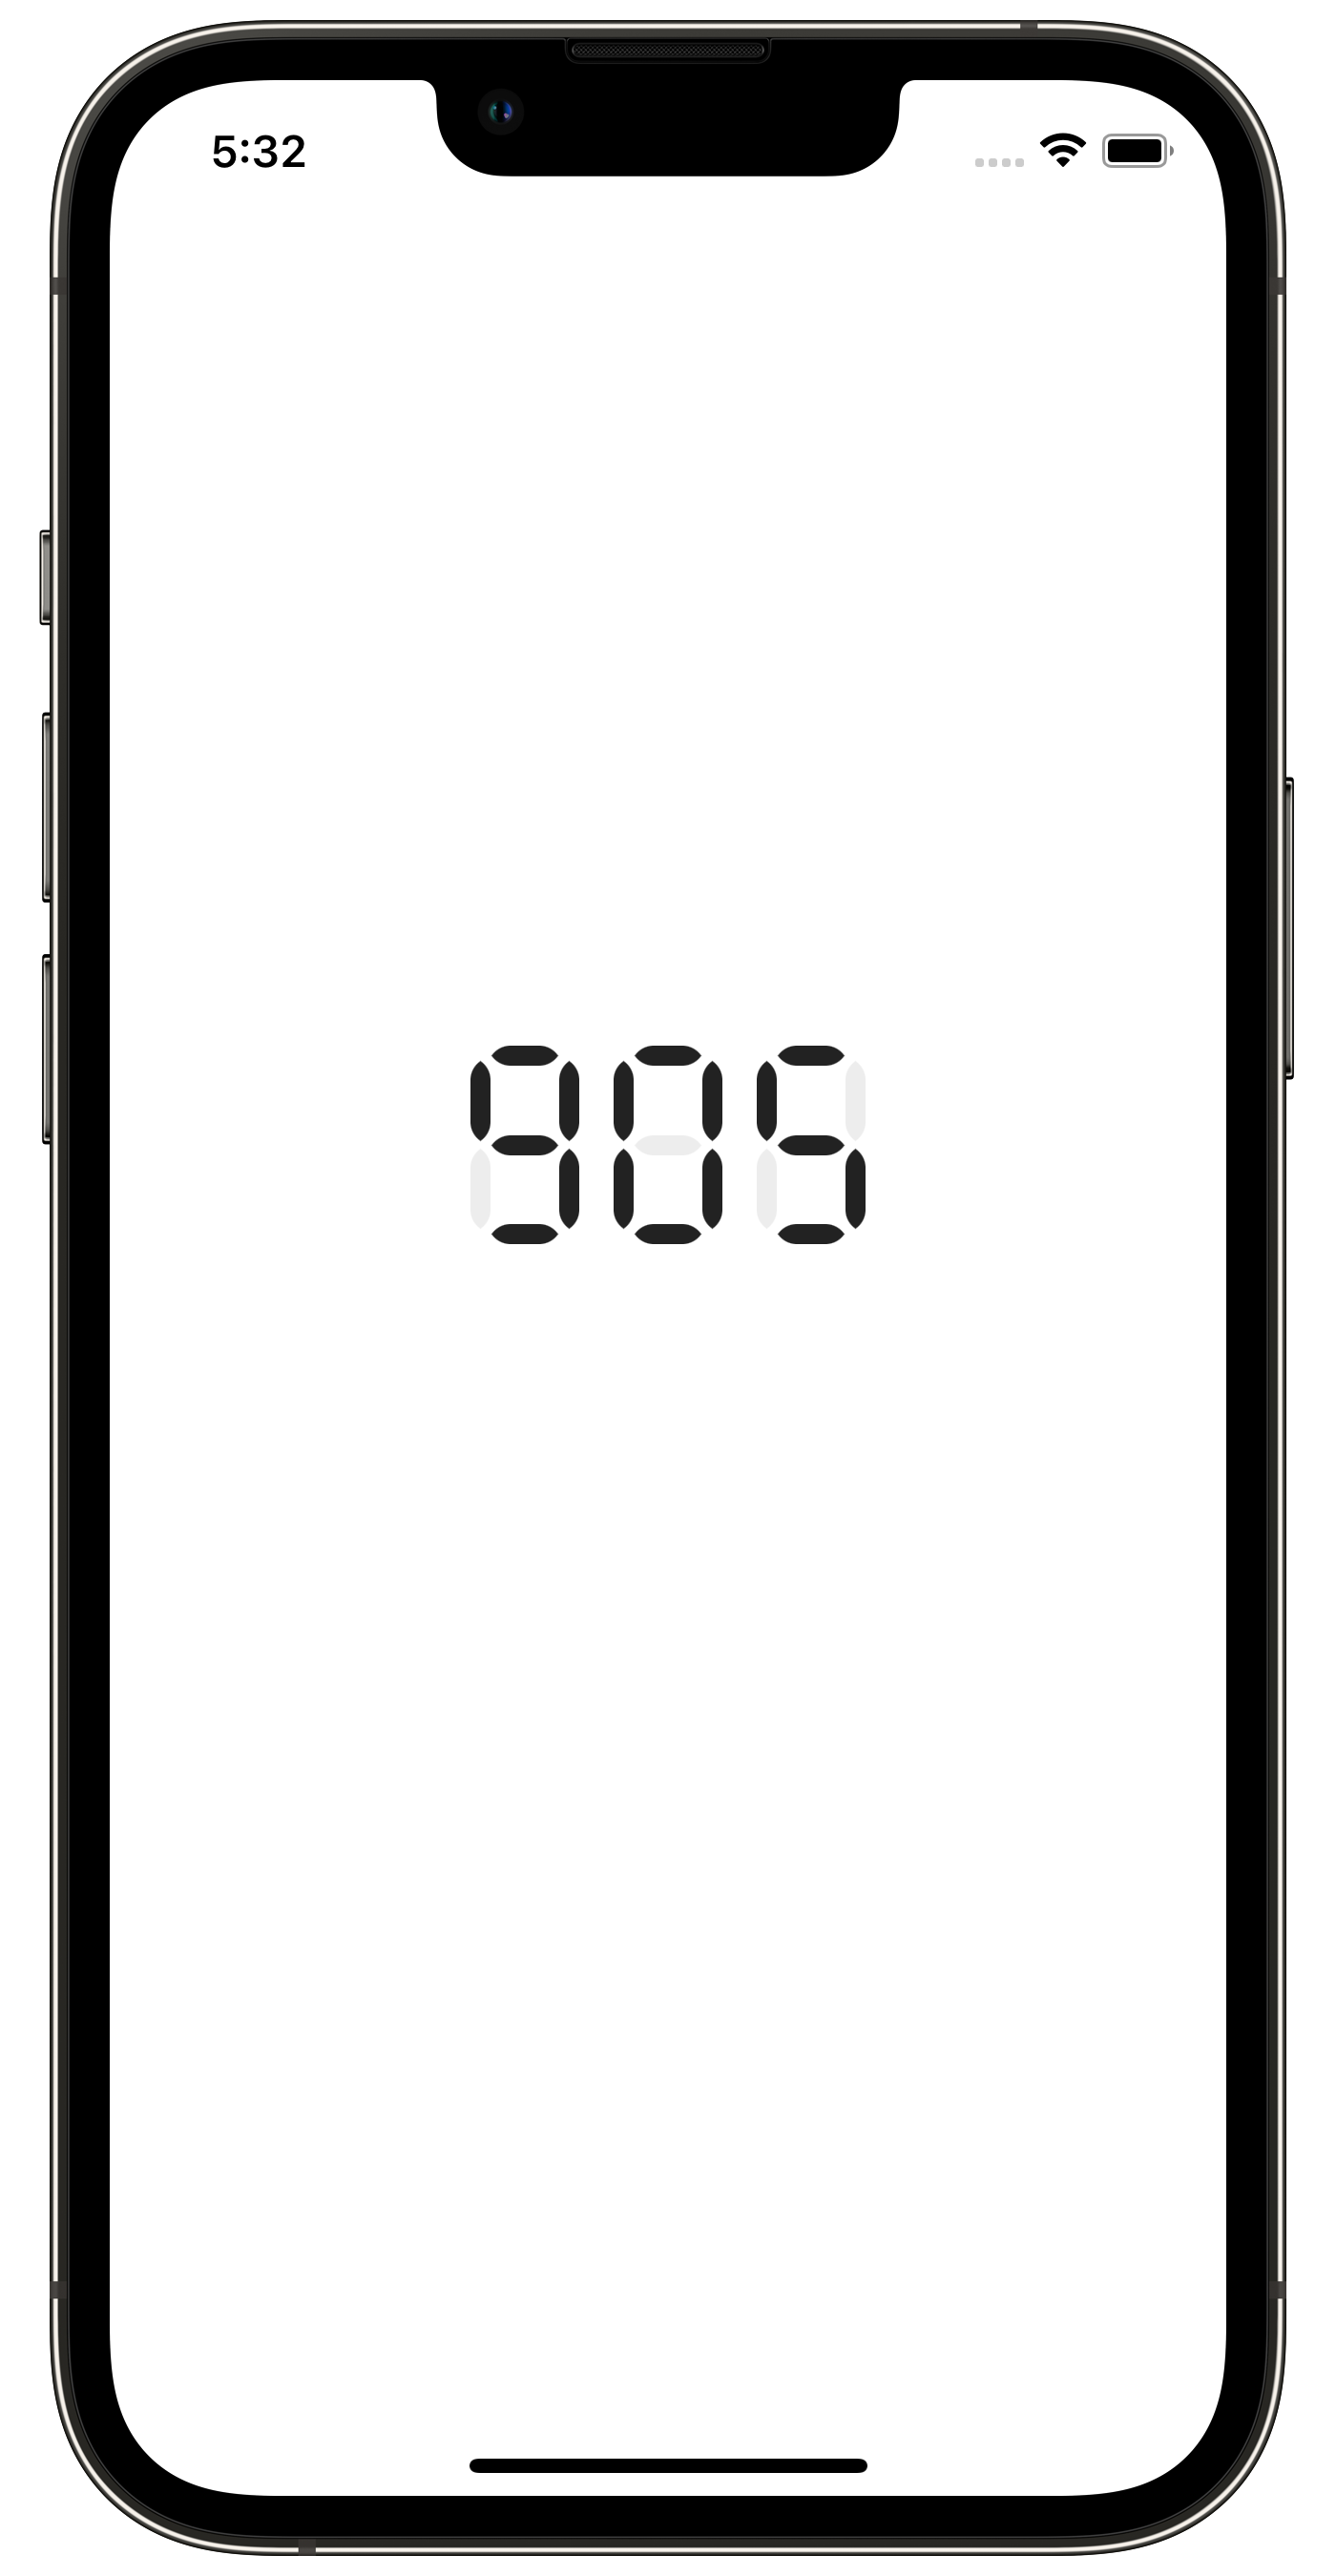
You now have a fully functional seven-segment display to use in your app. To set a value, you need to call the function we just wrote and provide the number you want to set.
For example:
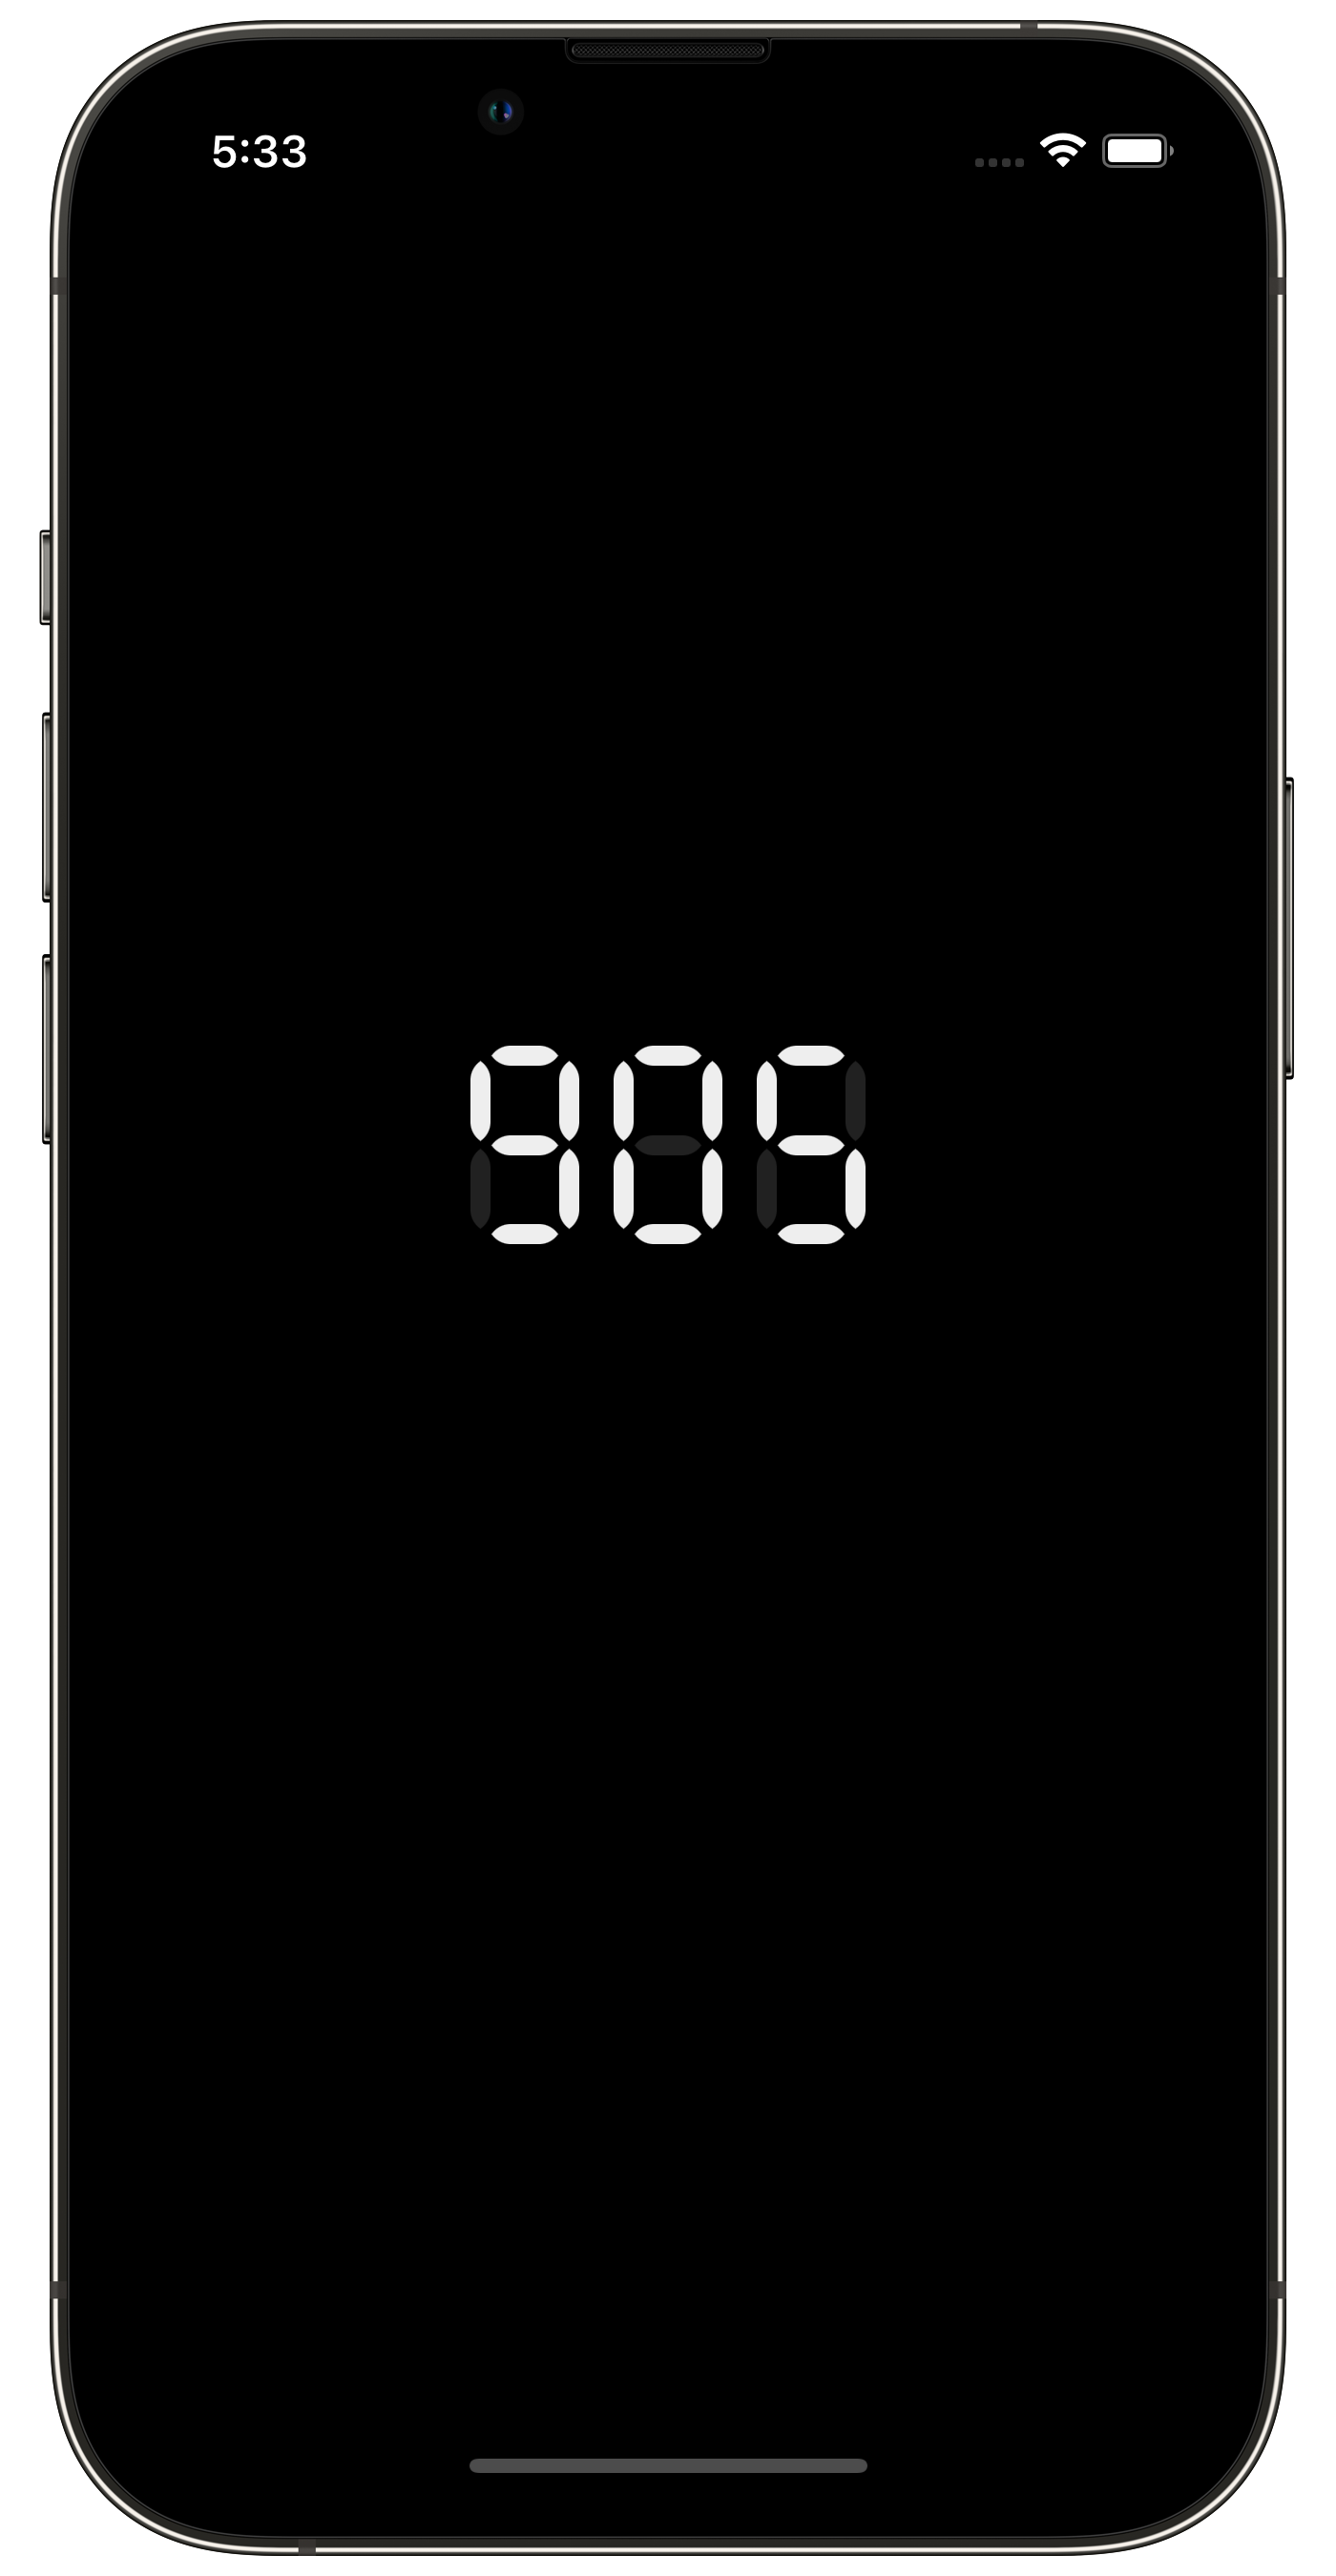
This is what you get in your app!
Code
A fully functioning version of this code is available on GitHub.
If you have any questions or recommended changes, feel free to create an issue or submit a pull request.
Links
-
Yes, I know, there is more to this display. A dot to show AM/PM, a dot to show if the alarm is on, and a leading 1 that shows during 2 digit hours. But, we will ignore those for this discussion. ↩
-
While seven-segment displays are able to display most letters, we will be focussing on numbers for this example. ↩